Sunday, December 26, 2010
Sunday, November 28, 2010
Monday, November 22, 2010
I've Been Bad
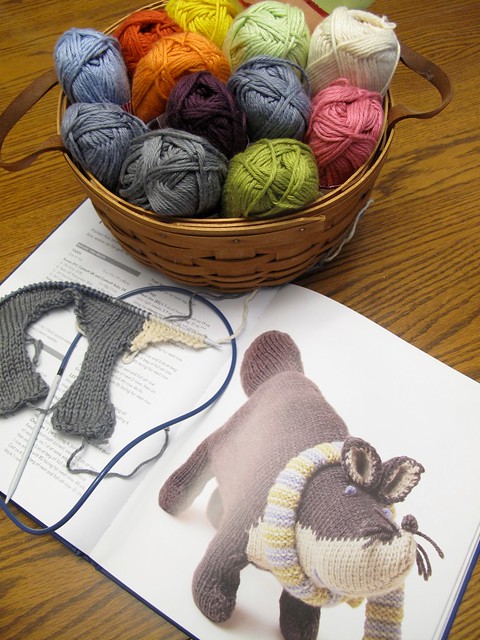
My sister comes to town and what do we do? We go shopping, of course! There's a new "green" yarn and fabric store that recently opened called Wooden Spools. It collects overages and unused stashes from stores and individuals and offers them for sale. There's a nice selection of mostly natural fiber yarn in the front of the store. The back half of the store is dedicated to quilting cottons, anything from fat quarters to entire bolts. They also have a long arm quilting machine set up and their website says they offer custom quilting services. Nice idea. Great prices! Could. not. resist. buying. something.
Wednesday, November 17, 2010
Another Tunic

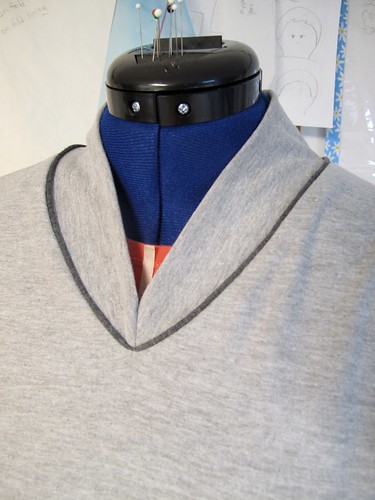
The grey knit collar is cut in the shape of a long skinny football, then folded in half. I folded the collar again so the points matched up. I measured the circumference of the neckline, divided that in half, then used that measurement to measure from the fold in the neckline (that will be the center back) towards the points and pinned where the measurement ended. I sewed a sharply angled seam at the pin to become the center front line, pinned it around the neckline edge and stitched all the layers together. A v-collar! It sounds more complicated than it is. Try it.
Tuesday, November 16, 2010
Thankgiving Menu Planning
Friday, November 12, 2010
Scalloped Edge Treatment

Here’s a super simple edge treatment using the blind hem stitch on your machine. It works best on light drapey fabrics. Be sure to experiment on a scrap of fabric first to get your settings right.
I used this treatment on a strip of cloth to trim a neckline, but you could also use is as an edge finish directly on a neckline or front edge. Just remember it’s rather fragile, so don’t use it on a edge that’s going to be tugged and pulled on.
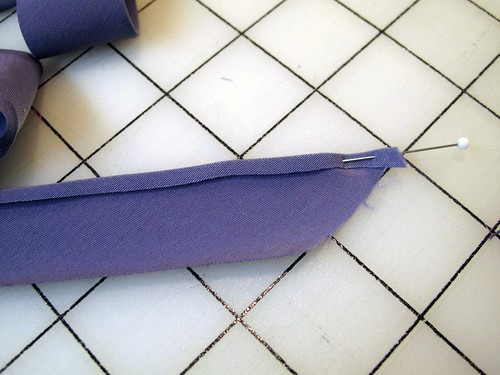
I started with a bias strip 1.25” wide. I didn’t need that much finished width, but that width gave my fingers enough fabric to hold on to it while ironing. Cutting on the bias helps reduce fraying.
Fold the fabric toward the wrong side 1/8” and press. For this polyester peachskin fabric, the effect worked best if I only turned the fabric to the wrong side once. With more sheer fabrics, it might work to turn the fabric twice so there’s no raw edge exposed, even though the edge gets encased in the zig-zag stitching. Experiment.
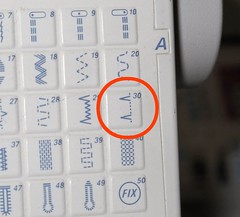 |
| A blind hem stitch looks like this. |
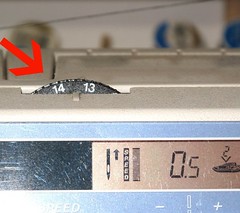 |
| My upper thread tension wheel. |
Set your machine for a blind hem stitch and increase your thread tension as high as it will go. Consult your manual if needed. Increasing the thread tension causes the top thread to pull in the fabric when it zig-zags out to the fabric edge, creating the scallop.

Align the folded edge of the fabric under the pressure foot, right side up, so the zig-zag stitch moves just beyond the fabric edge. Adjust the stitch length and width until you like the look. I used .5 mm length and 4 mm width. Go slow, and use your fingers to guide the fabric.
 |
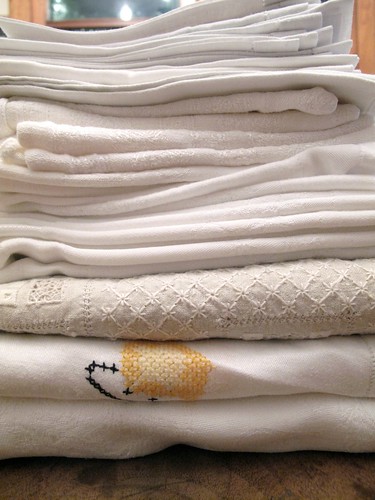
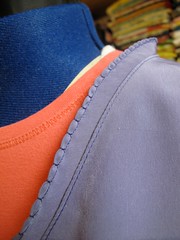
| Here's the trim applied to the neck edge. |
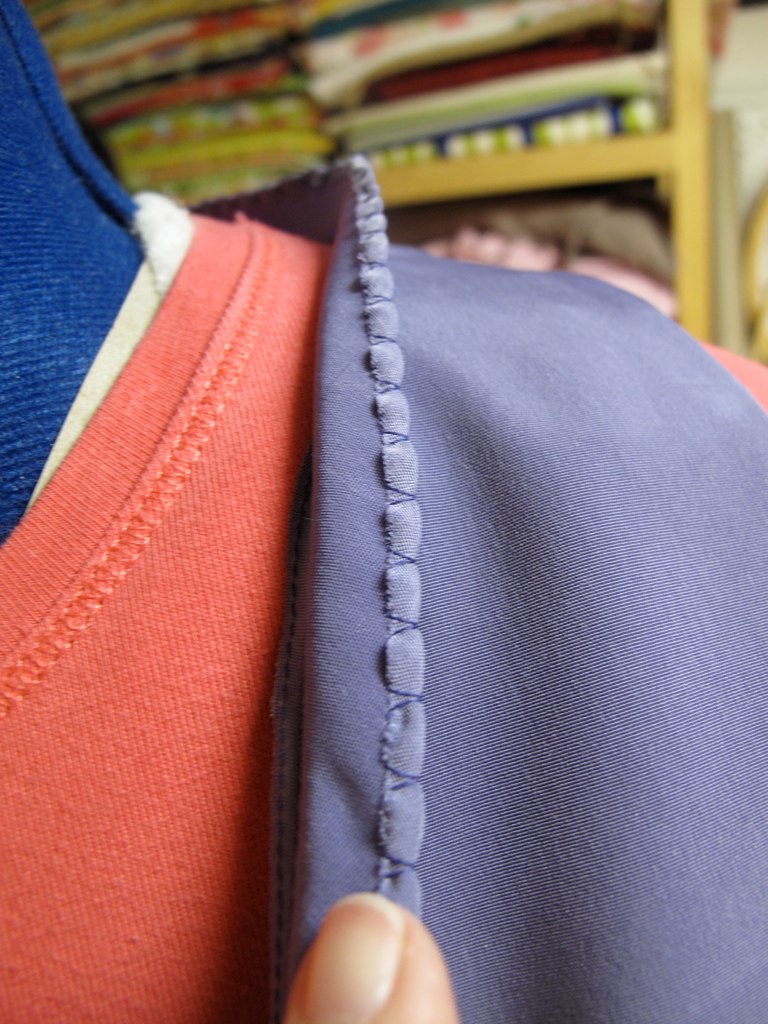 |
| Here's the back side of the finished trim. Notice the raw edge encased by the stitching. |
Thursday, November 11, 2010
Runway Inspiration

I don’t watch television much, but after reading some blog posts about Project Runway, I watched an episode online, and I was hooked! It’s now my Friday guilty pleasure to watch it when I’m supposed to be doing real work. A few weeks ago, the challenge was to design looks that fit into Heidi Klum’s (the show hostess) new active clothing line. I was inspired by the color blocked designs of Andy and Mondo, and decided to create a simple color blocked tunic for myself.

It was a great way to use up some of my overflowing stash. I had an odd shaped piece of heavy grey knit that came off a remnant table, and some polyester peachskin that I bought because I fell in love with the dusty plum color, even though I don’t usually wear slinky synthetics. Combining the two fabrics was perfect- nice color, comfy stretch. Although it’s not runway ready, it is shopping-errand-day worthy!
It was a great way to use up some of my overflowing stash. I had an odd shaped piece of heavy grey knit that came off a remnant table, and some polyester peachskin that I bought because I fell in love with the dusty plum color, even though I don’t usually wear slinky synthetics. Combining the two fabrics was perfect- nice color, comfy stretch. Although it’s not runway ready, it is shopping-errand-day worthy!

Subscribe to:
Posts (Atom)


